
A desktop buried under screenshots, random downloads, project drafts, and files you haven’t dealt with in months is demoralizing before you begin.
The visual clutter vies for your attention even when you aren’t consciously looking at it as every stray file is one more thing your brain has to sift through, and that adds up over a workday.
Organizing a messy Mac desktop in 15 minutes is achievable by focusing on quick tips and tools that automate the process. The fix doesn’t need to take all afternoon. A little strategy and some Post-it notes can turn your workstation from a disaster zone into a model of efficiency.
Here’s how.
What you’ll cover
● Use Stacks to auto-sort what’s already there
● Build a simple folder structure that actually sticks
● Use Tags for fast, cross-folder organization
● Clean up Downloads and deal with storage bloat
● Set rules to keep the desktop clear going forward
Step 1: Use Stacks and let macOS do the heavy lifting first
Before you touch a single file, let macOS collapse the chaos automatically. MacOS can auto-magically clean up the mess for you with Stacks, a feature that sorts desktop files by type (images, PDFs, spreadsheets, screenshots) into stacks you can expand.
To do this, right-click anywhere on the desktop and select Use Stacks.
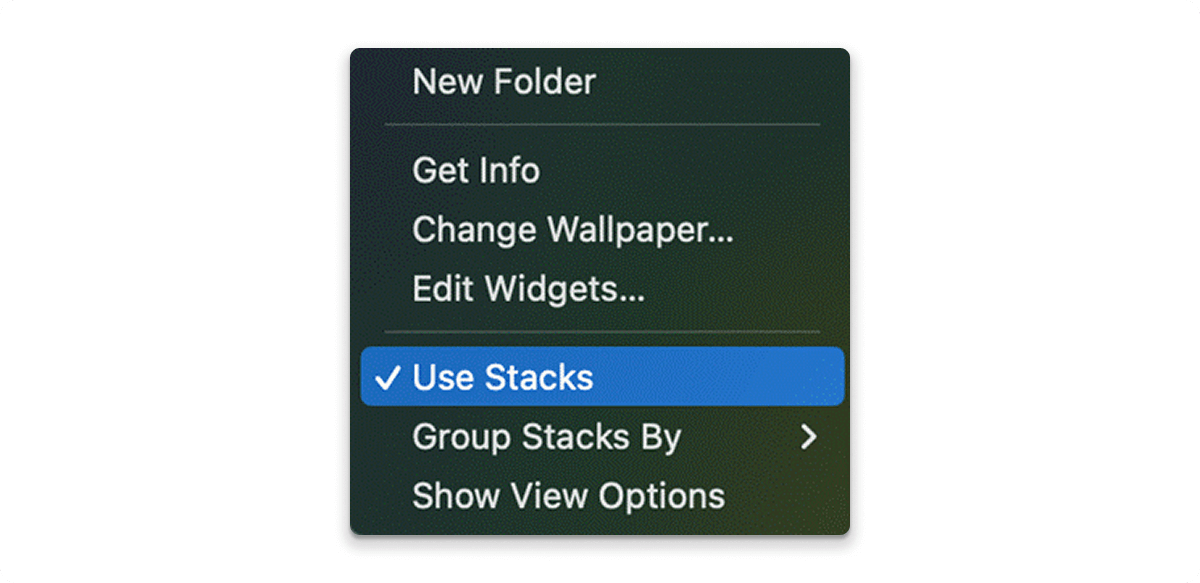
Alternatively, you can navigate to and click on View in the top left corner > Use Stacks in Finder. All of your stuff will sort itself out in a matter of seconds. Remember that this in itself is not an organization, but a visual representation that helps make the next steps easier.
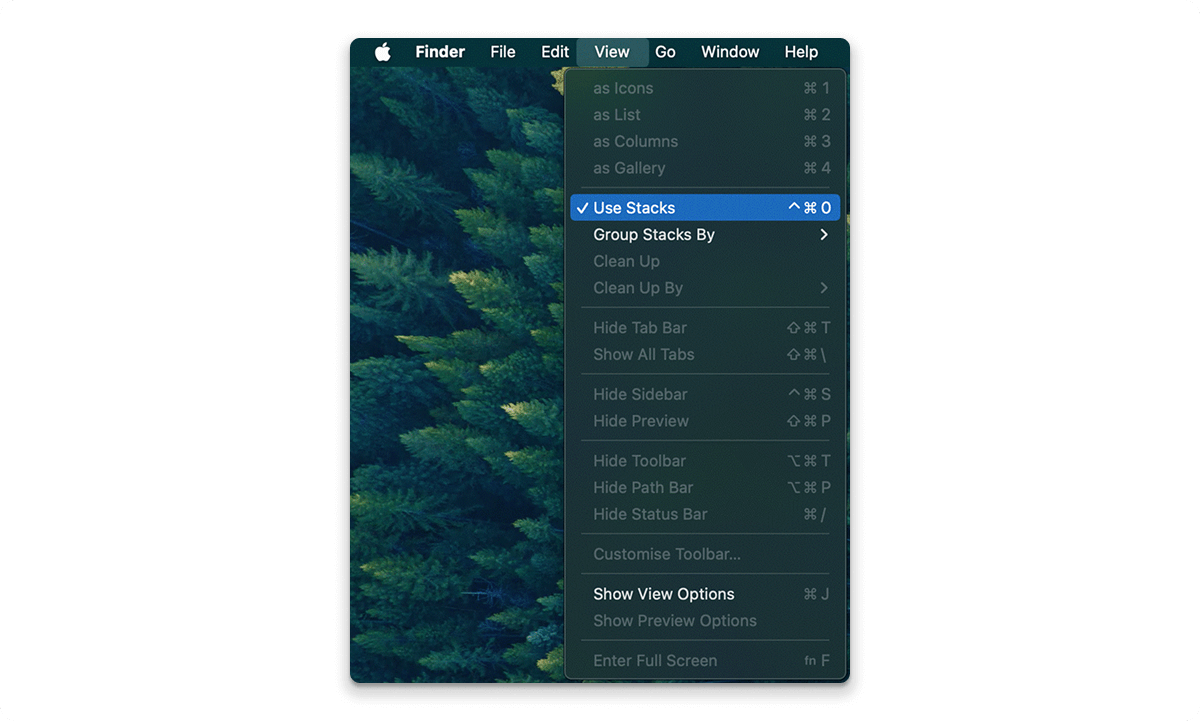
Tip: Right-click a Stack and select Group Stacks By > Date Last Opened to bring up files you haven’t used in weeks. Most of the time, you can delete or archive them.
Step 2: Create a folder structure that actually works
Most people suck at folder organization because they create systems that are way too complicated to keep up. Your goal is a structure simple enough that it takes two seconds, not two minutes, to file something.
Create a “desktop working” folder
Make one folder on your desktop called _Working (the underscore keeps it pinned to the top). This is your active workspace; anything you are working on right now goes in here. Nothing else ever permanently lives on your desktop.
Move everything else into your home folder
Select all the stacked files not actively in use and drag them into a temporary folder called Inbox inside your home directory. You’ll sort through this later, but getting it off the desktop is the immediate win.
Don’t create too many levels of folders. Two-levels-deep is best. Deep folders cause decision paralysis, the opposite of what we’re trying to achieve.
Step 3: Use macOS tags for cross-folder organization
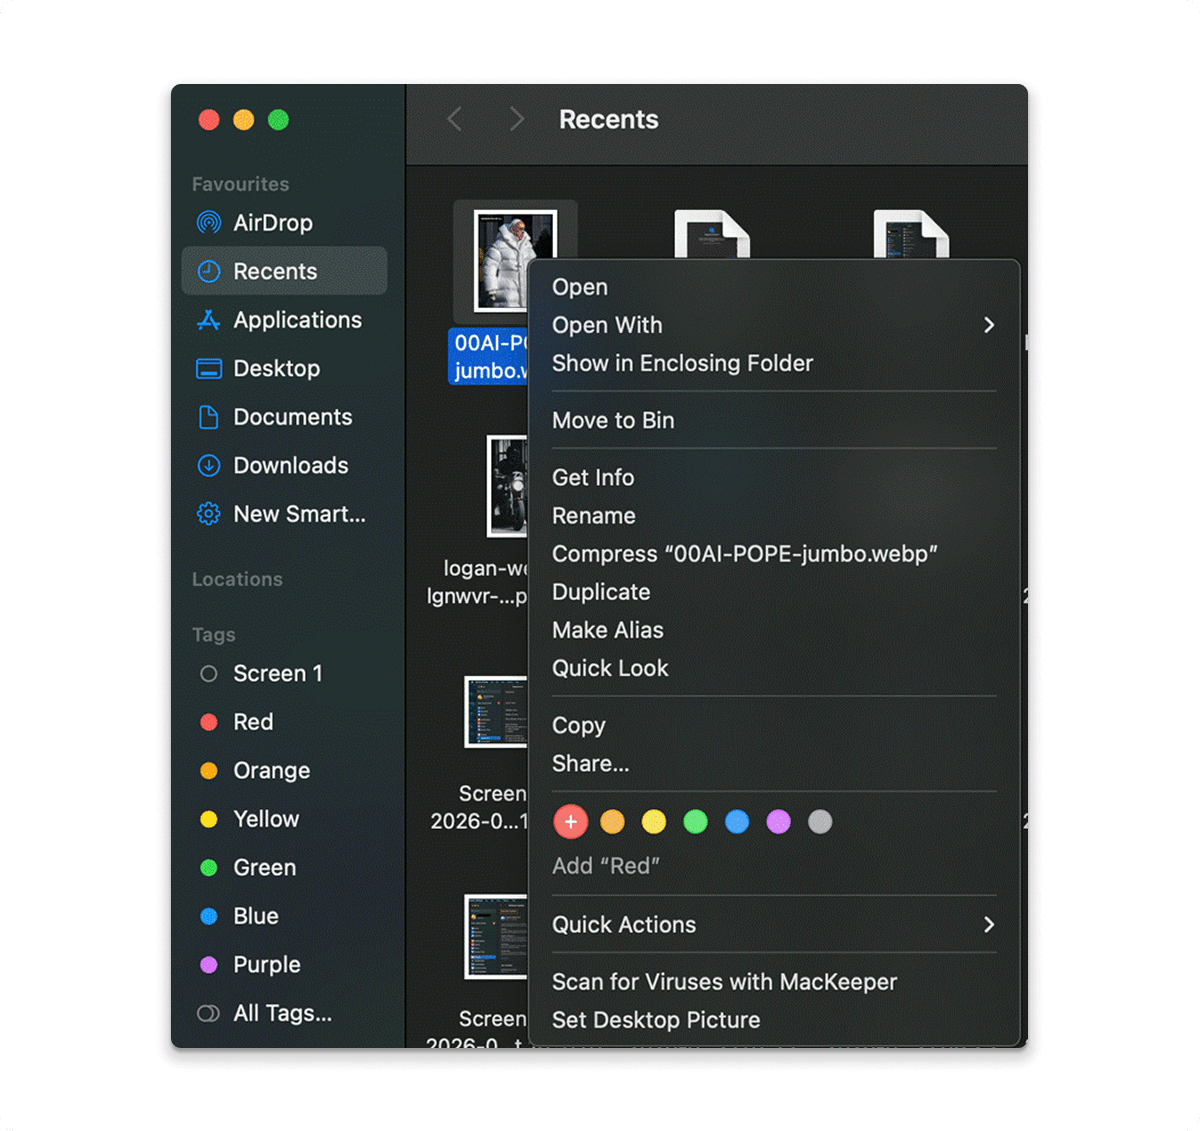
macOS tags are incredibly underused. For instance, if you have files that belong in multiple contexts, instead of deciding whether something goes in “Client A” or “Design Assets,” just put it in one place and tag it with both.
Right-click on a file and apply a color tag, or rename it to something useful like Urgent, Review, or 2026. Tagged files show up in the Finder sidebar for one-click access, no matter where they’re located, without any duplicates or unnecessary mess.
Step 4: Deal with downloads and disk bloat
The Downloads folder is where the organization goes to die. You download files, open them once, and then never touch them again. In a few months, it’s turned into a digital landfill that gobbles up gigabytes of space.
On your Mac:
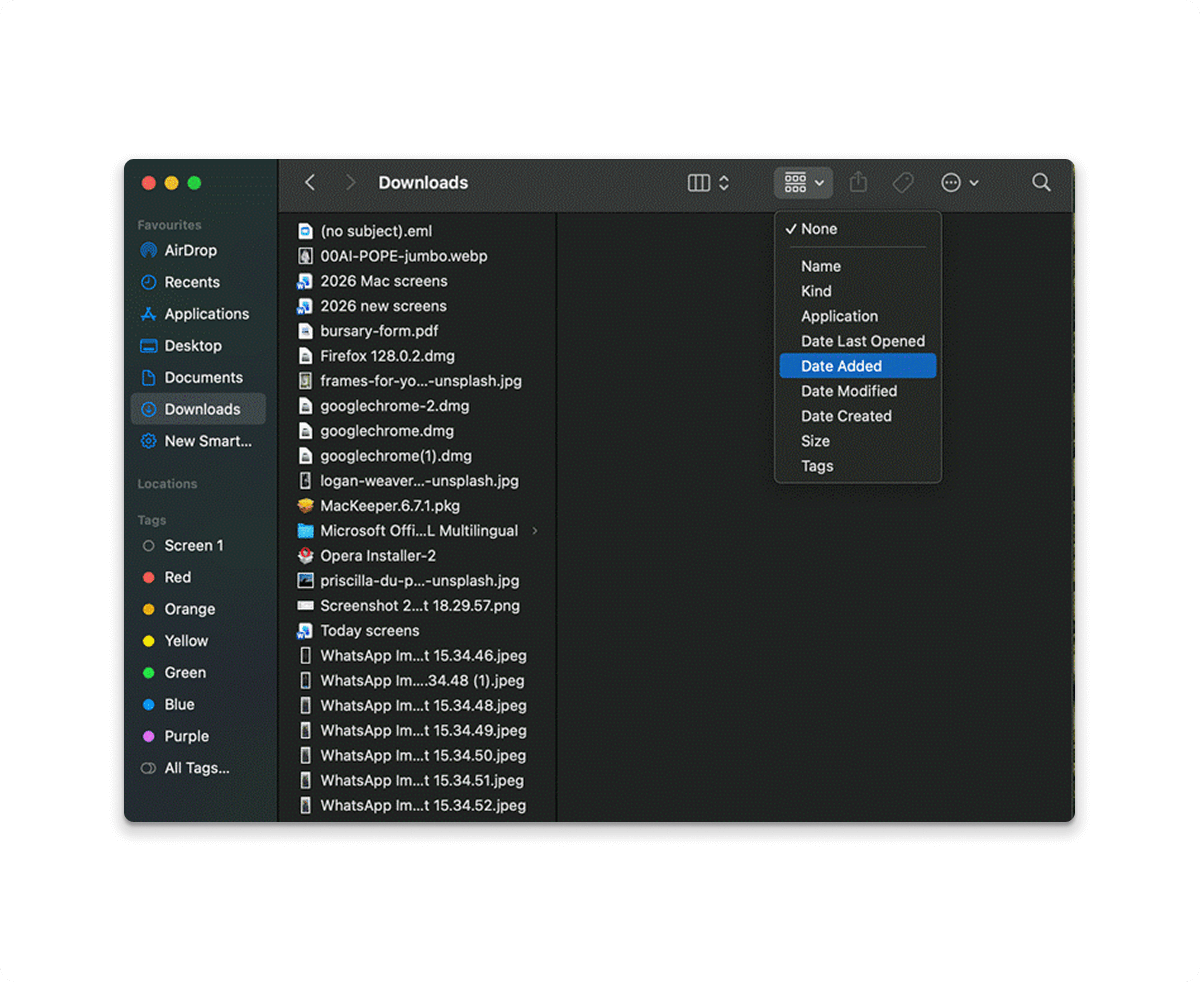
- Open your Downloads folder > sort by Date Added > delete anything older than 30 days that you haven’t accessed.
Storage bloat impacts desktop performance in ways unrelated to space consumption. When your startup disk is full, macOS can’t write temporary files efficiently, virtual memory performance suffers, and Spotlight search indexing slows down.
If you’re seeing the spinning beach ball more often than not, storage pressure is usually to blame. For a deeper clean beyond the Downloads folder, including cache files, app leftovers, and system junk. It’s worth knowing how to free up disk space on Mac properly.
Those hidden files add up faster than most people expect. Those hidden files add up faster than most people expect.
Step 5: Set a screenshot destination (Stop the desktop flood)
Screenshots contribute the most to desktop clutter for Mac users. Every time you take a screenshot on your Mac, it lands on your desktop and accumulates pretty fast. When you fix this once, you’ll have solved the issue permanently.
On your Mac, open the Screenshot app (⌘ Shift 5) > click Options > Change the save location to a dedicated folder like ~/Pictures/Screenshots.
From this point on, your desktop stays clear of the screenshot clutter. While you’re at it, delete any existing screenshots older than two weeks. If you haven’t needed them by now, you won’t.
Step 6: Create a weekly 5-minute reset habit
The number-one mistake people make with digital organization is thinking it’s a one-time deal. If you don’t have a “maintenance” habit in place, that clean desktop will be swamped with icons again in less than a week.
A weekly reset that takes 5 minutes will ensure the situation never gets out of control. Each Friday, do this:
● Put anything on your desktop into the appropriate folder or delete it
● Clear your Downloads folder of anything older than a week
● Empty the Trash
● Review your Inbox folder and file, or delete everything in it
Make this a regular habit, not something you do “when it gets bad.” If you’re already working on developing better productivity habits, the principles behind effective time management, particularly around attention control and deliberate habit formation, apply directly here.
Step 9: Back it up
Once you have everything organized, make sure your files are protected. With an easy-to-back-up file system, you’ll know something is missing as soon as it’s gone.
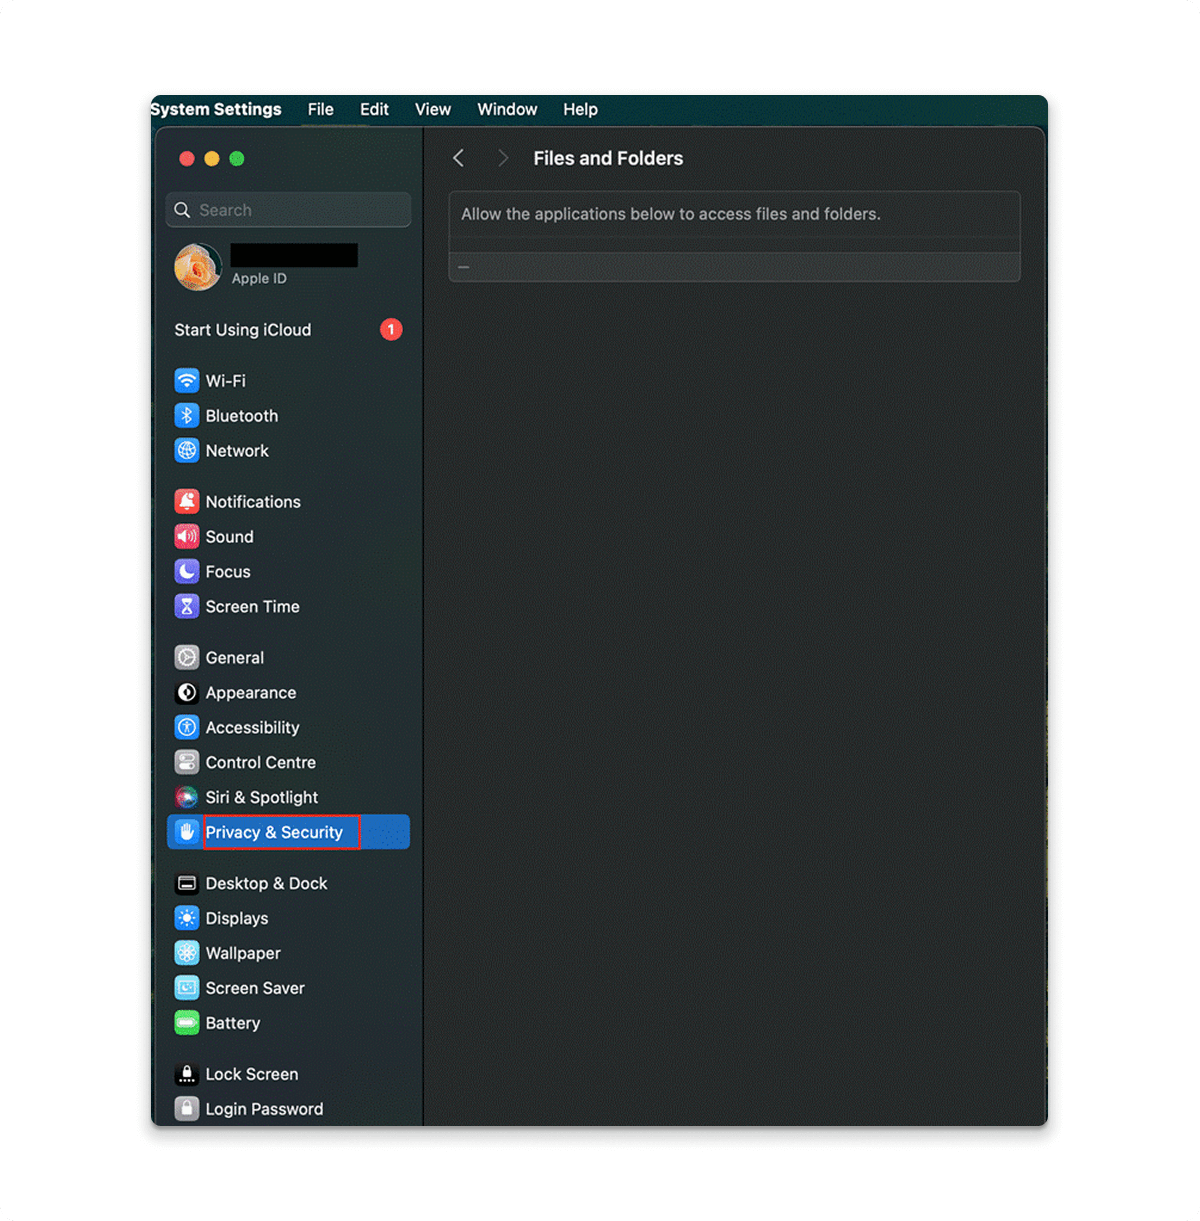
First, enable FileVault and then make sure Time Machine is running. Finally, review Privacy & Security > Files and Folders to see which apps are able to access your Desktop and Documents.
As for securing your whole digital life, a structured cybersecurity checklist for personal privacy covers other bases that are all too easy to forget. The same consistent, checklist mindset that helps you stay organized can help you stay secure.
The final takeaway
Keeping a clean desktop doesn’t take daily discipline. It takes designing a system that makes it easier to stay organized than to remain cluttered. Design the right structure, create the right habits, and your Mac will remain clean almost automatically.
You can do that by going through Step 1. It’s simple, you’ll see the improvement in seconds, and you’ll likely feel motivated enough to tackle the rest.